
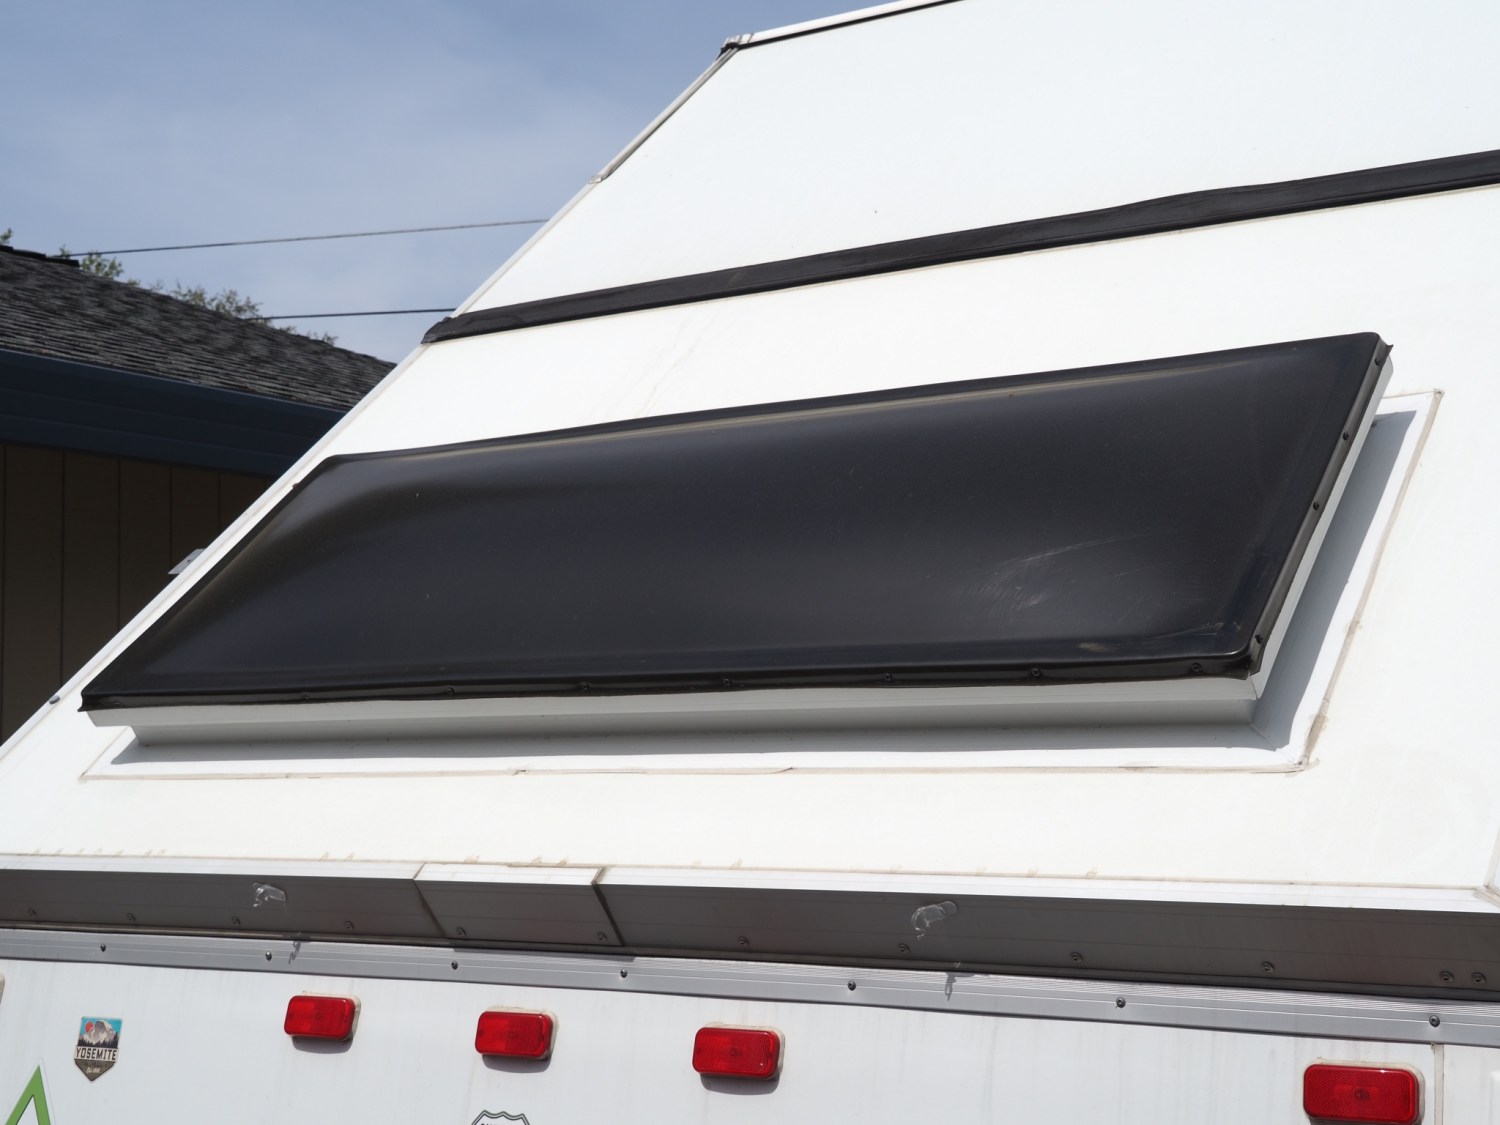
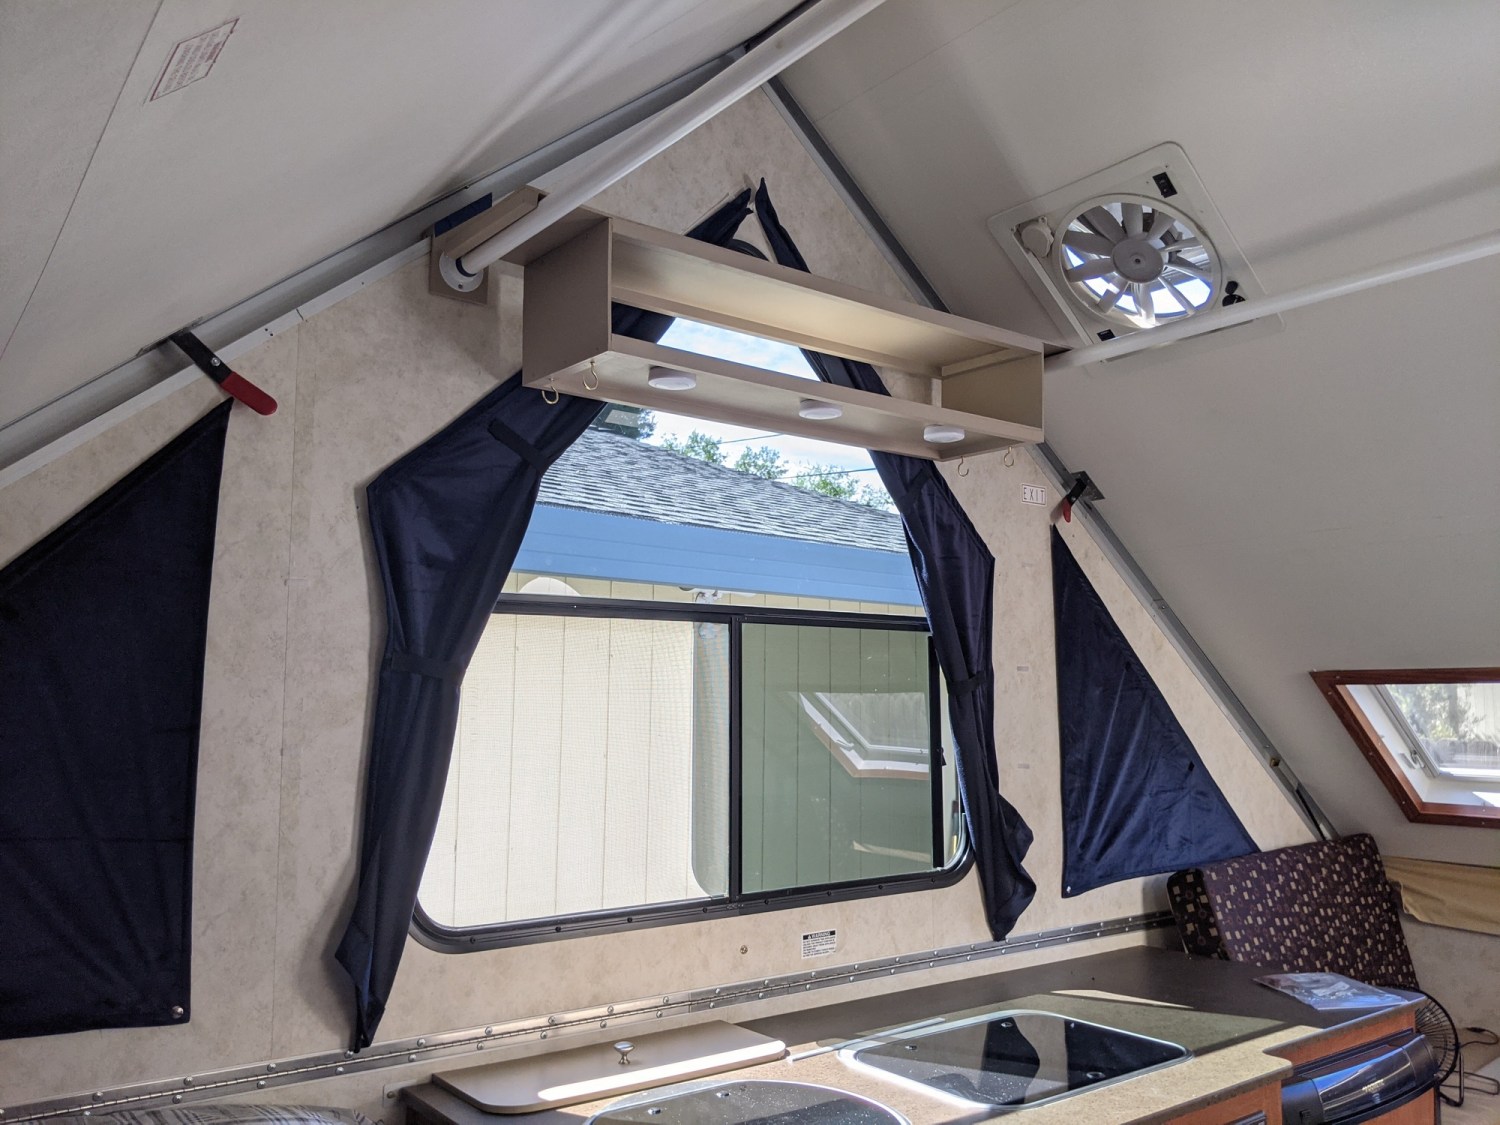
This trailer has unusual dome windows on the roof panels. Rather than the typical style, where the plexiglass dome windows are glued directly to the roof surface, my dome windows are mounted to a frame that opens, similar to a skylight or casement window. It’s a great option because it allows for additional ventilation.
It looked like someone in the past had replaced the plastic dome pieces with ones that almost fit, but not very well. The dome windows had rounded corners that did not fit well over the right-angle corners of the frame. By looking at the installation of the dome pieces, it was obvious that this had been hacked. I researched replacements, and found no options for direct replacements. I knew I would have to make my own.

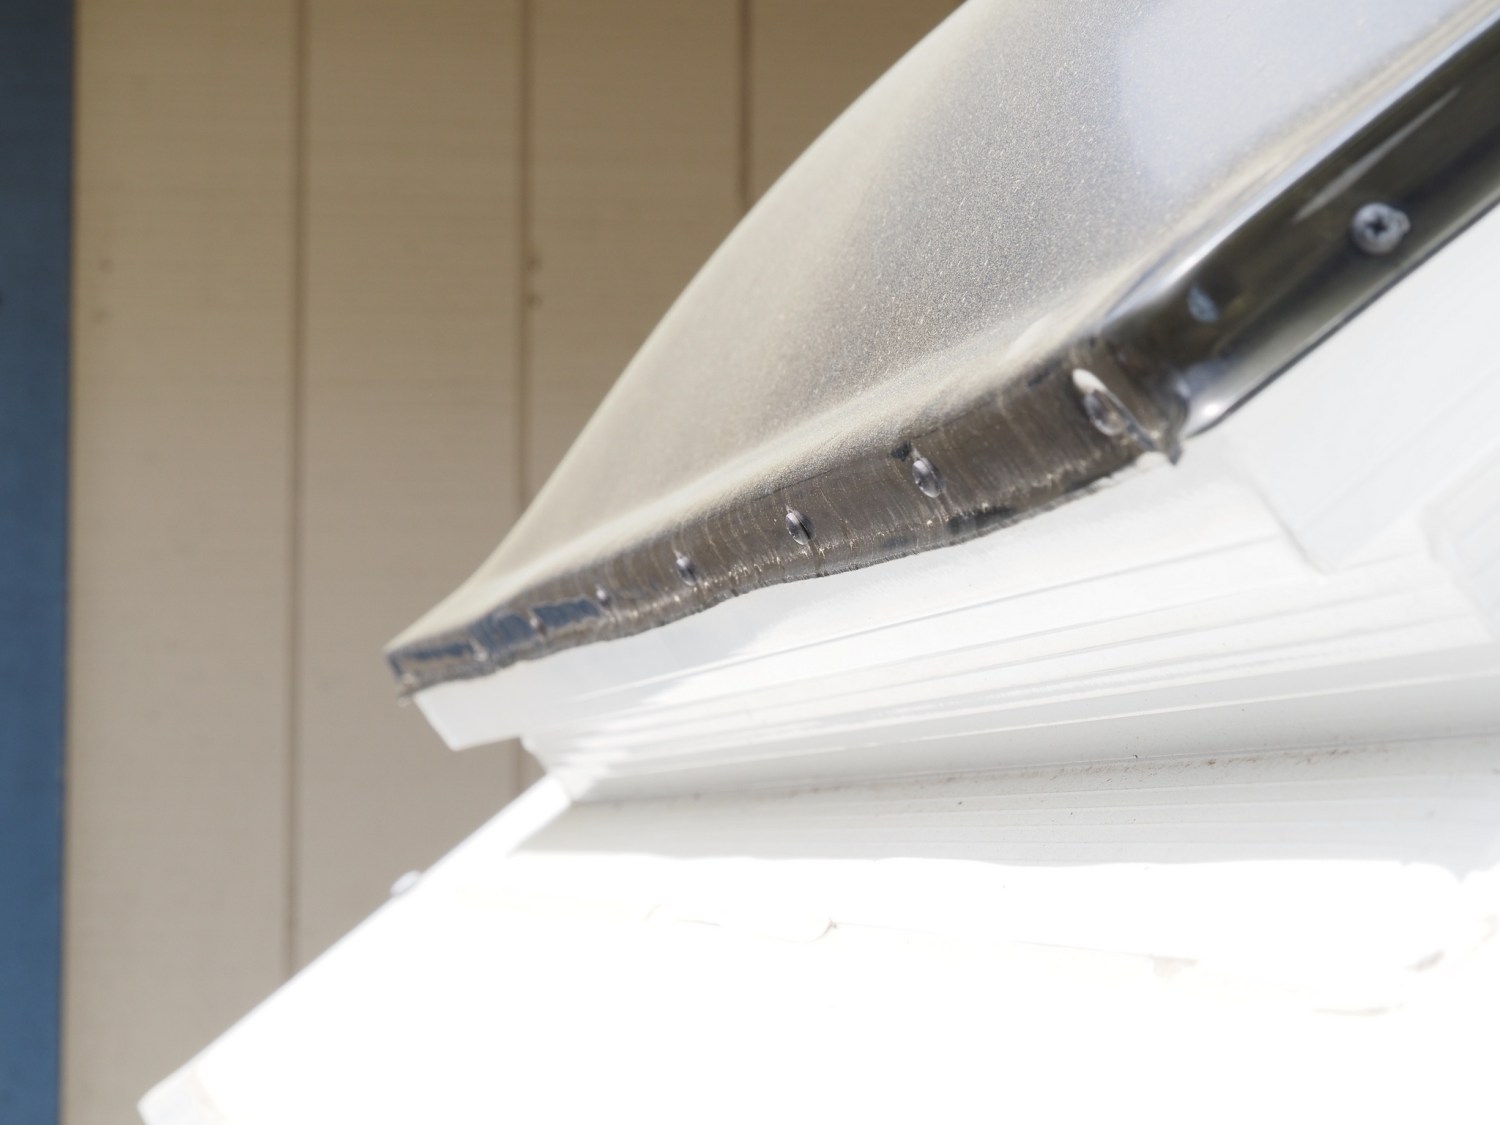

I decided to replace the dome pieces with pieces of flat, 1/4″ tinted polycarbonate. TAP Plastics was able to cut two pieces for me at the exact dimensions I needed. I cleaned up the frames to prepare them for the adhesive. I used E6800 adhesive – it’s permanent, waterproof and has UV protection.
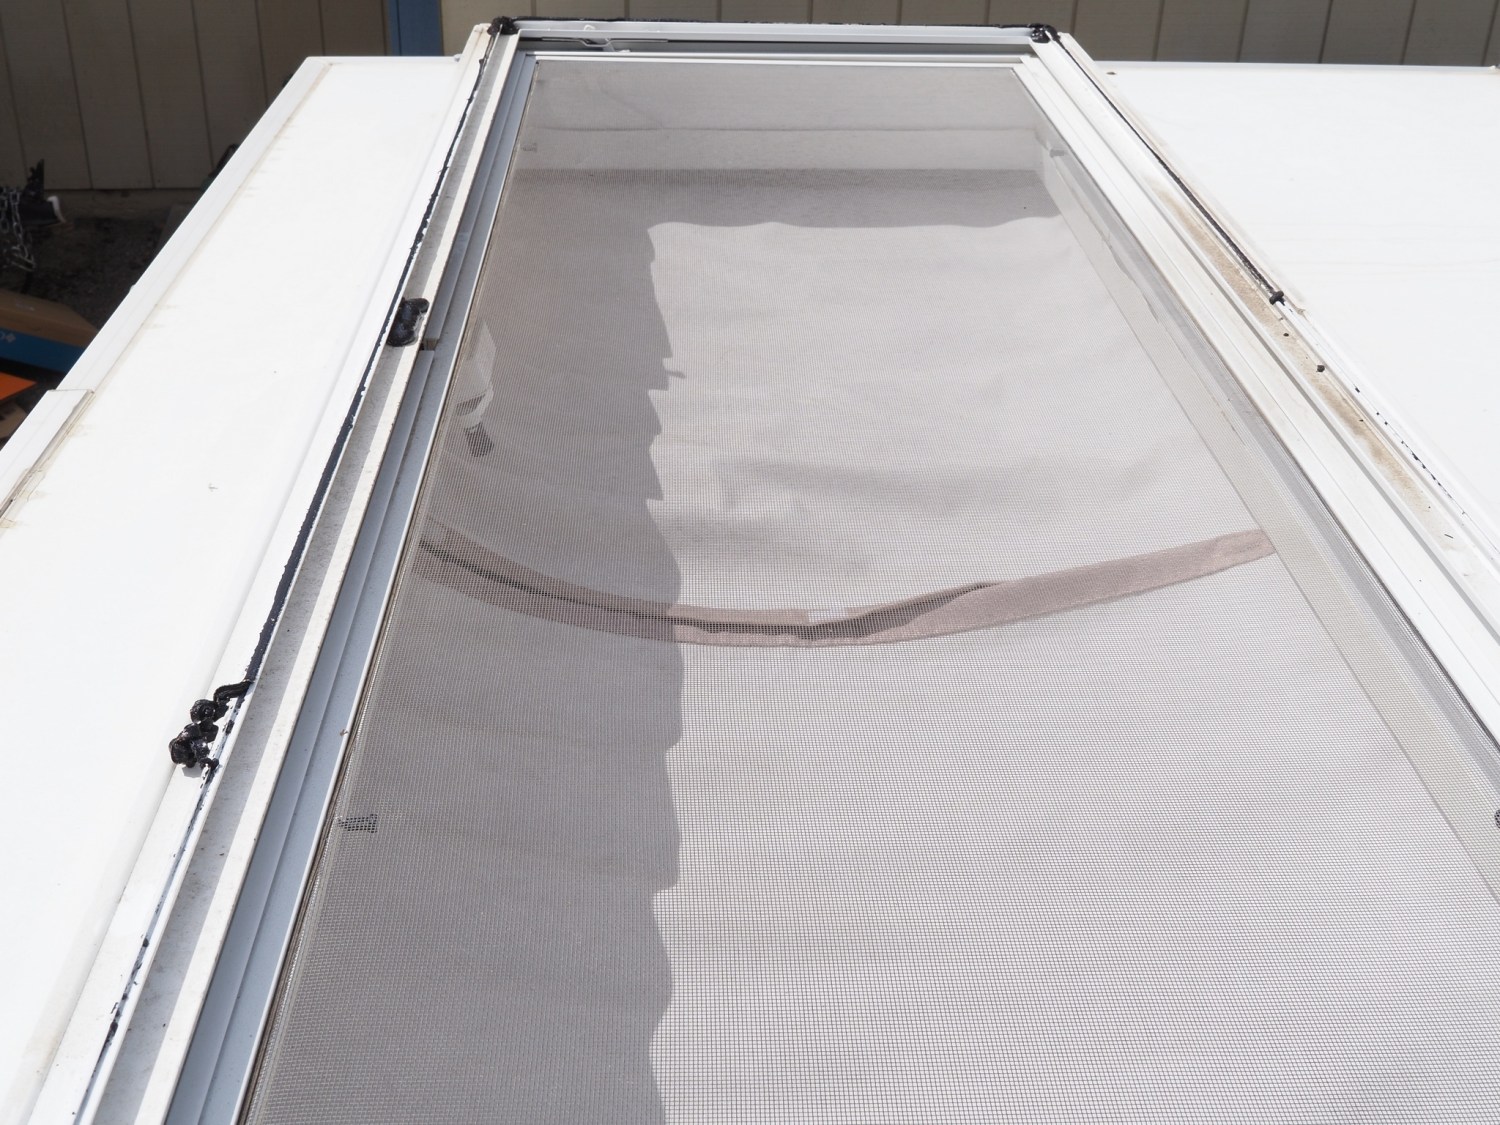


After letting the adhesive set up for 24 hours, I made frame pieces from 1 1/4″ aluminum angle stock. I used the same adhesive to attach the aluminum frame as well as some stainless steel screws around the edges. I then used silicone caulk to seal all the edges.


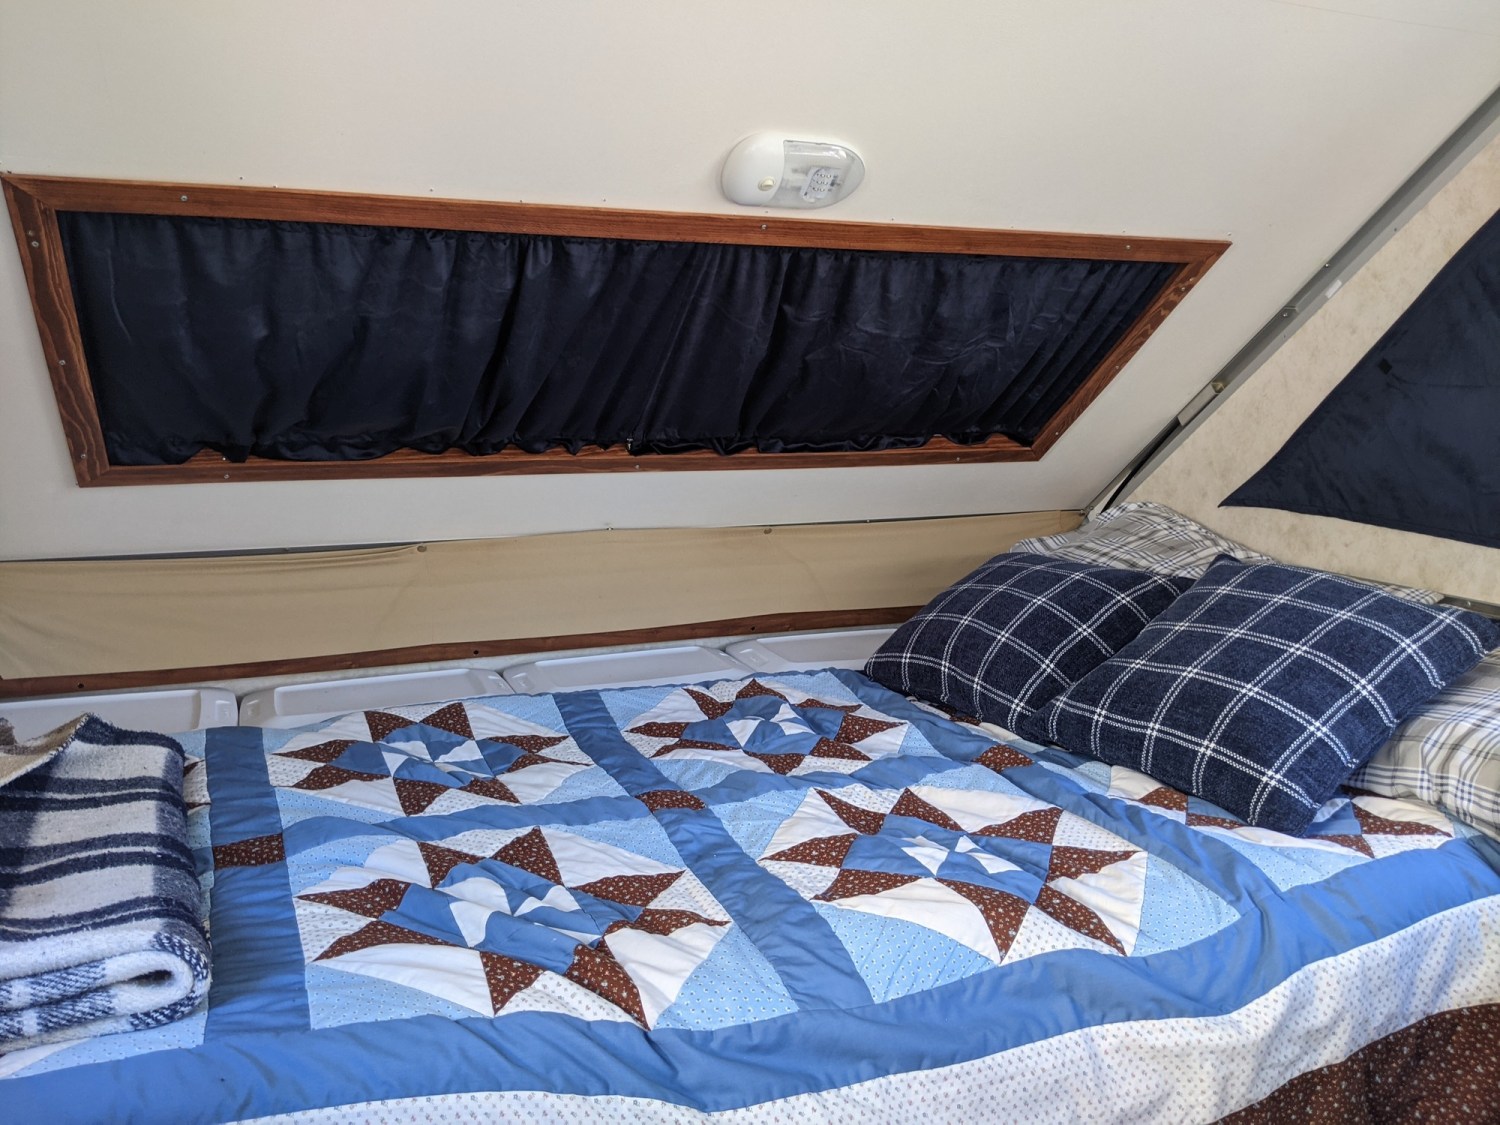
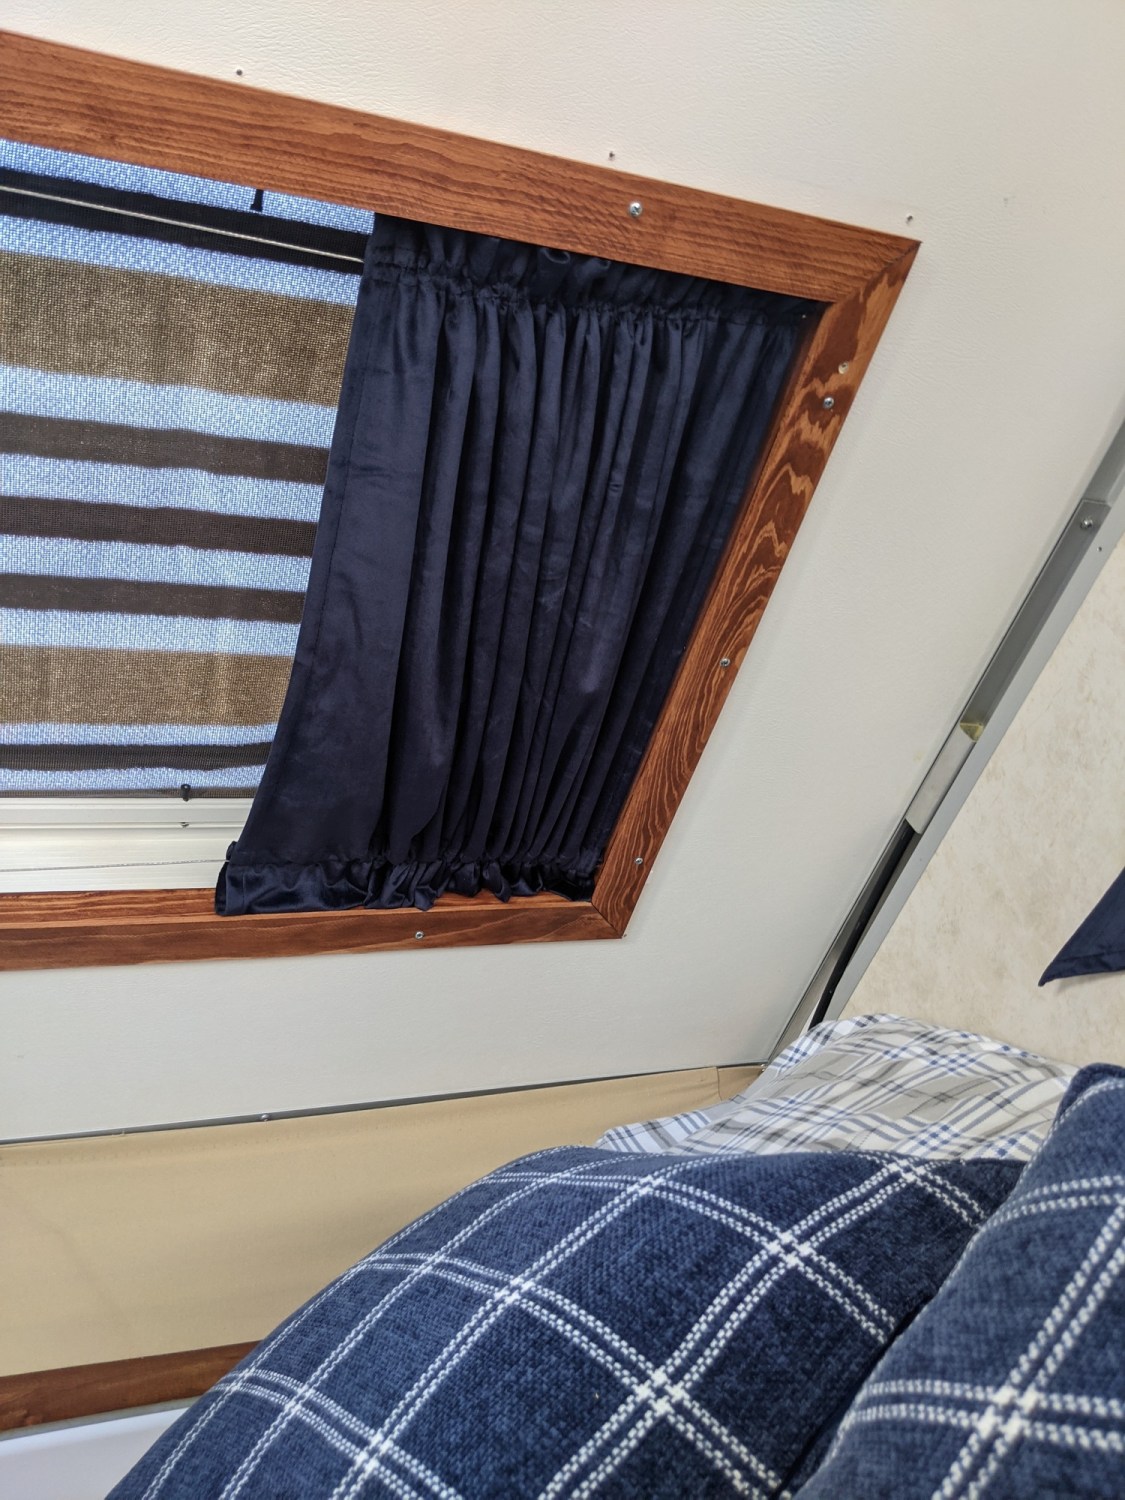
After replacing the windows, I wanted to also clean up the inside of the window area. The old trim piece was plastic that had cracked over the years. The curtains were difficult to open and close.


I decided to build new inside frames out of wood and make new curtains. The curtain project took on a life of its own, since I made curtains for every window in the trailer. This was a total of 11 curtain panels. I bought 100% blackout curtain panels and used them as raw materials.

I was happy with all parts of this project. The old dome windows needed to go and I’ve been wanting to put a different color scheme on the inside of the trailer.
Now I’m ready to travel!
– + –

It is nice to see the end product. Since hearing about the different stages of the remodel I was wondering how it looked and the changes. You do professional work! I’m impressed…sew too. I had an idea for you. A product I used on curtains to block the sun from damaging the material but a sun blocking material may be in the material you purchased.
I started from the beginning.
Shirley
LikeLike
I did buy blackout curtain panels and cut them to fit, they keep the trailer very dark, even on a sunny day.
LikeLike